The short answer
Let most of the cable system travel with the desk.
Mount the power strip, adapters and excess cable beneath the moving worktop whenever the equipment arrangement allows it. Then create one controlled, flexible route from the moving desk to the fixed power or data point in the room.
Plan the movement
Divide the installation into three cable zones.
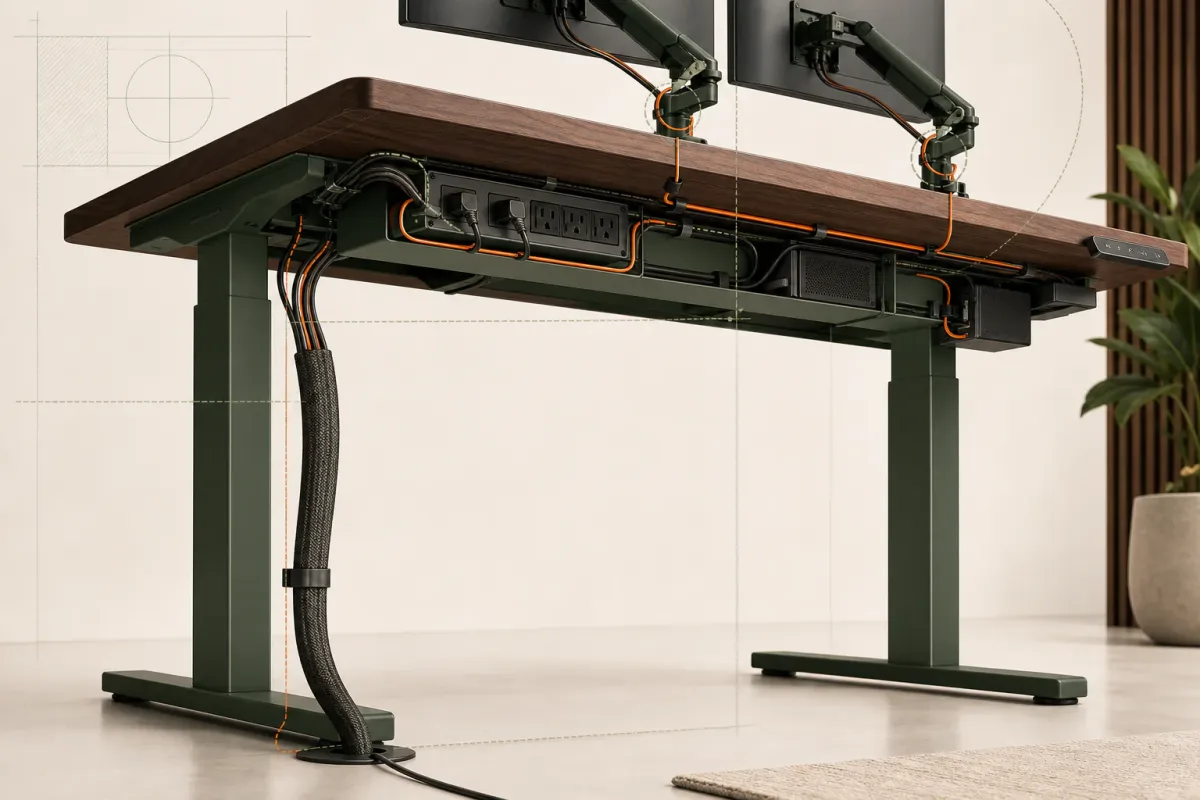
- The desktopPlace devices first, then guide their cables toward one or two controlled entry points.
- The moving undersideKeep the power strip, adapters, tray and useful excess length together and accessible.
- The room connectionUse one predictable flexible route from the moving desk to the fixed outlet.
Begin with the equipment in its real working position. Monitor arms, a dock, speakers, lighting and charging points determine where cables naturally leave the surface. The underside then becomes a service area rather than a place to hide an unreadable bundle.
The final descent must absorb the change in desk height. A flexible spine, sleeve or carefully formed service loop can work, provided it has enough clearance from feet, chair movement and the frame.
A practical installation order
Route cables only after the equipment positions are settled.
- Place the equipment.Set the monitor, dock, computer, lighting and accessories where they will actually be used.
- Identify what moves.Mark every cable that connects a desk-mounted device to something fixed in the room.
- Mount power beneath the worktop.Keep the power strip and adapters on the moving side of the system where practical.
- Route device cables into the tray.Preserve access to ports and avoid tight bends immediately behind a connector.
- Create the room descent.Group only the cables that must cross from the moving desk to the fixed room.
- Set maximum height.Form the service loop with every connection relaxed at the highest intended position.
- Test slowly.Run several complete up-and-down cycles while watching every transition point.
What usually goes wrong
Five cable-management mistakes to avoid.
| Mistake | What happens | Better decision |
|---|---|---|
| Finishing at sitting height | The cable becomes tight as the desk rises. | Set the final service loop at maximum working height. |
| Leaving adapters on the floor | The cable lifts the adapter or pulls its connector. | Support adapters on the moving side where practical. |
| Hiding every connection | The system becomes difficult to repair or change. | Keep the service area readable and accessible. |
| Using one tight bundle | Different cables are forced through the same movement. | Separate routes that need different amounts of travel. |
| Ignoring the chair path | A caster or foot enters the cable descent. | Move the descent outside the normal circulation zone. |
Before handover
A seven-point movement check.
- No cable becomes taut at maximum height or forms a floor loop at minimum height.
- Connectors remain relaxed and free of side load.
- The frame cannot pinch or scrape a cable.
- Adapters and the power strip remain securely supported.
- The chair and feet cannot enter the cable path.
- The tray can still be opened and understood during future service.